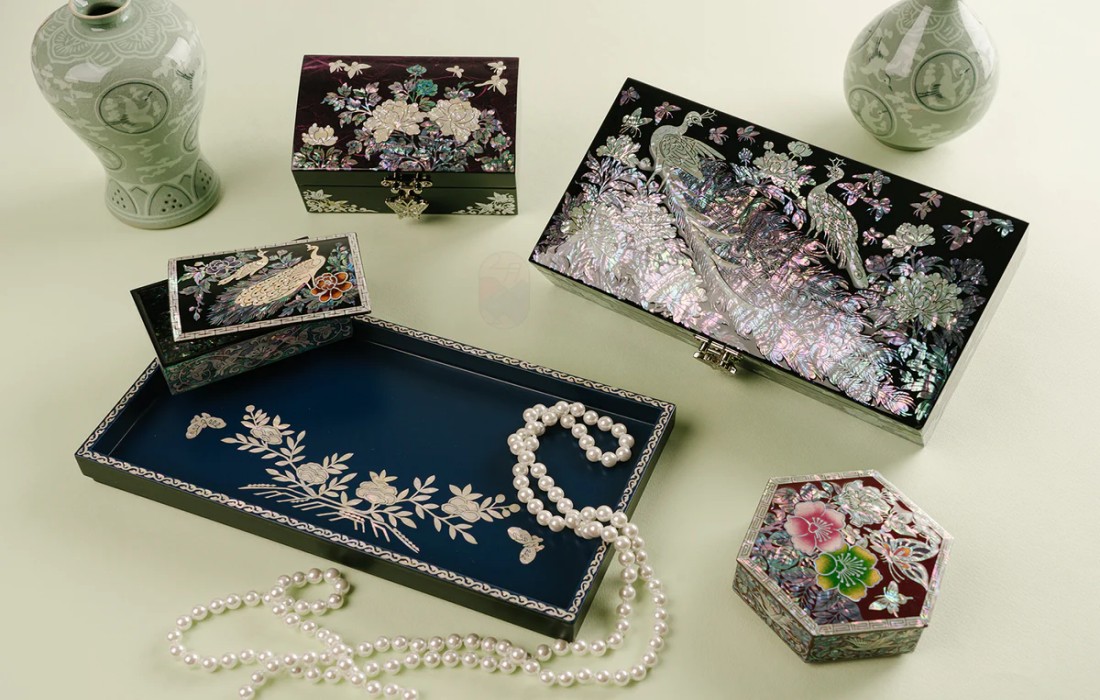
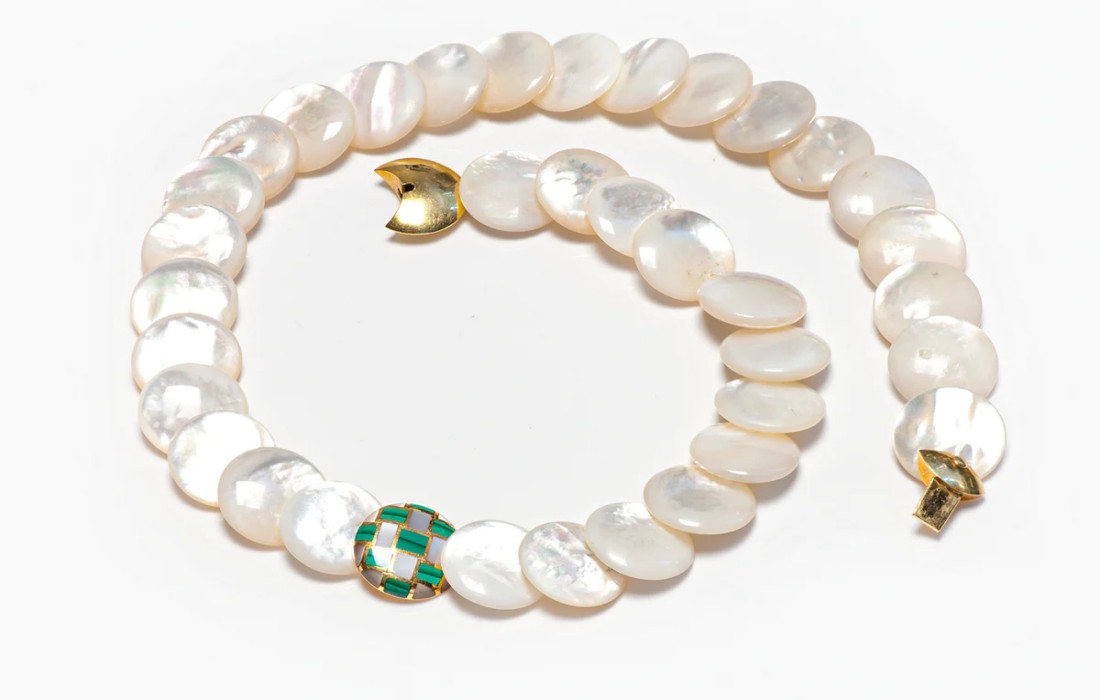
When selecting mother-of-pearl materials, make sure you purchase from a reputable source in order to ensure quality and authenticity. To verify its authenticity, examine the material carefully and look out for any signs of discoloration or damage. Additionally, consider the thickness of the material as this will determine how malleable it is during crafting and how well the finished product will hold up over time.
Next, choose tools suitable for working with mother-of-pearl such as scissors or pliers designed specifically for cutting shells and other delicate materials. Be sure to have sharp blades on hand as they will help with clean cuts while avoiding cracking or chipping at the edges. Additionally, other helpful tools include tweezers, files, sandpaper, drills, and polishing cloths all of which should be used according to manufacturer instructions in order to prevent damage.
 Finally, take your time when crafting mother-of-pearl items; rushing through steps can lead to sloppy results or even breakage due to mishandling. Begin by designing your item on paper first so you have a clear idea of what you are aiming for before attempting it on actual shell material; this helps reduce mistakes along the way and allows you more flexibility in terms of design changes if needed. When actually assembling your item use gentle pressure when possible as too much force may cause chips or cracks in thinner pieces, especially near edges where pieces join together since these areas tend to be weaker than thicker parts further inside the shell piece itself. Finally, give your project a final polish using wax polish or buffing cloths so that all surfaces shine evenly with no dull spots remaining; if done correctly this will help protect your finished product against dust accumulation while bringing out its natural beauty even more!
With these tips in mind, anyone can learn how easy it is to create stunning keepsakes using mother–of–pearl materials!
Finally, take your time when crafting mother-of-pearl items; rushing through steps can lead to sloppy results or even breakage due to mishandling. Begin by designing your item on paper first so you have a clear idea of what you are aiming for before attempting it on actual shell material; this helps reduce mistakes along the way and allows you more flexibility in terms of design changes if needed. When actually assembling your item use gentle pressure when possible as too much force may cause chips or cracks in thinner pieces, especially near edges where pieces join together since these areas tend to be weaker than thicker parts further inside the shell piece itself. Finally, give your project a final polish using wax polish or buffing cloths so that all surfaces shine evenly with no dull spots remaining; if done correctly this will help protect your finished product against dust accumulation while bringing out its natural beauty even more!
With these tips in mind, anyone can learn how easy it is to create stunning keepsakes using mother–of–pearl materials!